
# 1.8 Development without Maven
The demonstration below uses Eclipse Java EE edition as an example. You can download it from: https://www.eclipse.org/downloads/packages/
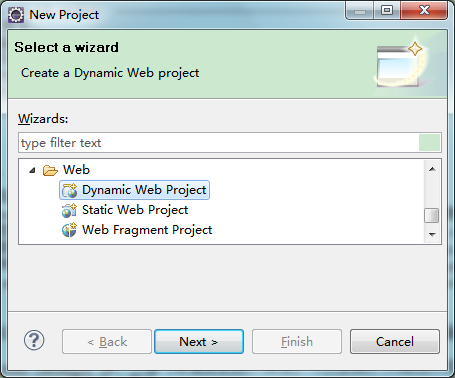
# 1. Create a Dynamic Web Project
# 2. Fill in the basic project information
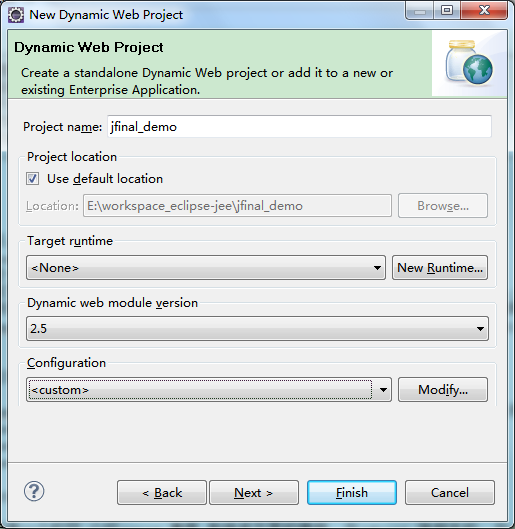
Note in the above image: Always select "None" for the Target runtime.
# 3. Modify the Default Output Folder. It is recommended to input WebRoot\WEB-INF\classes
 Important: The Default out folder here must be consistent with the WebRoot\WEB-INF\classes directory to use JFinal's integrated Jetty for project startup.
# 4. Modify the Content directory, it's recommended to input WebRoot
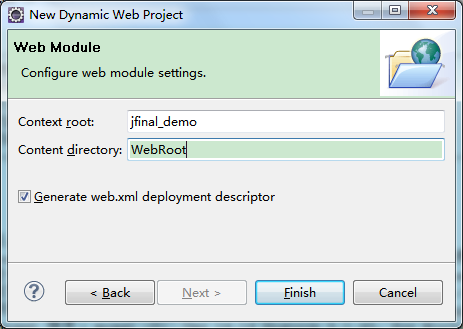
Note in the above image: You can also use the default value WebContent, but in the previous step, WebRoot\WEB-INF\classes should be changed to WebContent\WEB-INF\classes to match.
# 5. Add JFinal library files
Copy jfinal-5.0.0.jar and jetty-server-2019.3.jar to the project's WEB-INF\lib directory. Note: The jetty-server-2019.3.jar is used during development and isn't needed in a production environment.
The required jar files can be downloaded from the jfinal.com homepage. The file jfinal-5.0.0-all.zip contains commonly used jar files and instructions on how to use them.
# 6. Modify web.xml
Add the following content to web.xml:
<filter>
    <filter-name>jfinal</filter-name>
    <filter-class>com.jfinal.core.JFinalFilter</filter-class>
    <init-param>
       <param-name>configClass</param-name>
       <param-value>demo.DemoConfig</param-value>
    </init-param>
</filter>
<filter-mapping>
    <filter-name>jfinal</filter-name>
    <url-pattern>/*</url-pattern>
</filter-mapping>
2
3
4
5
6
7
8
9
10
11
12
# 7. Add Java files
Create a demo package in the project's src directory. Inside the demo package, create the DemoConfig file with the following content:
package demo;
import com.jfinal.config.*;
public class DemoConfig extends JFinalConfig {
    public void configConstant(Constants me) {
       me.setDevMode(true);
    }

    public void configRoute(Routes me) {
       // jfinal 4.9.03 版新增了路由扫描功能,不必手动添加路由
       // me.add("/hello", HelloController.class);

       // 使用路由扫描,参数 "demo." 表示只扫描 demo 包及其子包下的路由
       me.scan("demo.");
    }

    public void configEngine(Engine me) {}
    public void configPlugin(Plugins me) {}
    public void configInterceptor(Interceptors me) {}
    public void configHandler(Handlers me) {}
}
2
3
4
5
6
7
8
9
10
11
12
13
14
15
16
17
18
19
20
Note: The DemoConfig.java file's package and its filename must match the param-value tag in web.xml (in this example, it's demo.DemoConfig).
Create the HelloController class file in the demo package with the following content:
package demo;
import com.jfinal.core.Controller;

@Path("/hello")
public class HelloController extends Controller {
    public void index() {
       renderText("Hello JFinal World.");
    }
}
2
3
4
5
6
7
8
9
# 8. Start the project
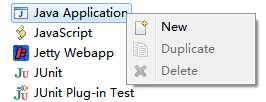
Create a start-up item as shown:
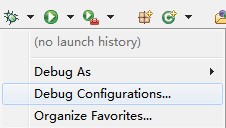
Right-click on Java Application and select the New menu item to create a new Java Application start-up item as shown:
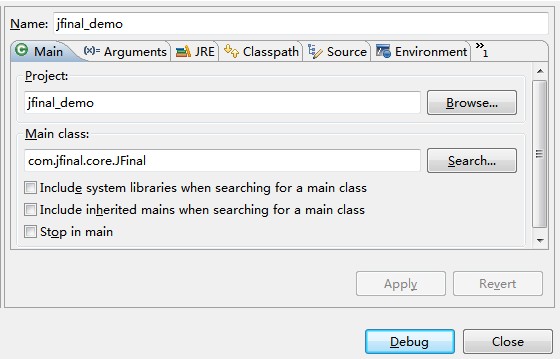
In the Main class input box on the right window, input: com.jfinal.core.JFinal and click the Debug button to start the project:
Alternatively, you can use any main method to start the integrated jetty as shown:
public static void main(String[] args) {
	JFinal.start("WebRoot", 80, "/", 5);
}
2
3
# 9. Open a browser to see the result
Open a browser and enter: http://localhost/hello. If you see "Hello JFinal World," it means the project framework setup is complete. For a complete demo example, download from the JFinal official website: http://www.jfinal.com
Note: When developing or running a project under tomcat, you should first delete the jetty-server-xxx.jar package to avoid conflicts. Tomcat starts the project differently from the above method because the above method requires the jetty-server-xxx.jar.
We strongly recommend using the standard Maven project structure for development. This section describes the older method of manually adding jar files.